Showing posts with label Wedding DIY. Show all posts

Saturday, January 21, 2012

An Alternative Wedding Guest Book


                I’ve never understood guest books at weddings.  I have nowhere to store the thing nor will I ever flip through it to look at the names.  They’re just weird to me.  My husband’s opinion was “We need a guest book?  What for?”  Exactly.

                I still liked the idea of something for people to sign with well wishes.  I’ve seen the plates, but I don’t want to serve food on a plate of signatures.  I also don’t want to display the plate – why have a plate that is just a dust collector?  A frame mat is also an idea that is being heavily marketed, but I feel like the picture would have to be a wedding picture.  I realize this is going to sound odd, but I think displaying lots of wedding stuff in your home has a shelf life of either two years or one child.  I didn’t want something so obviously screaming wedding on my wall in ten years.

                What to do?  What to do?

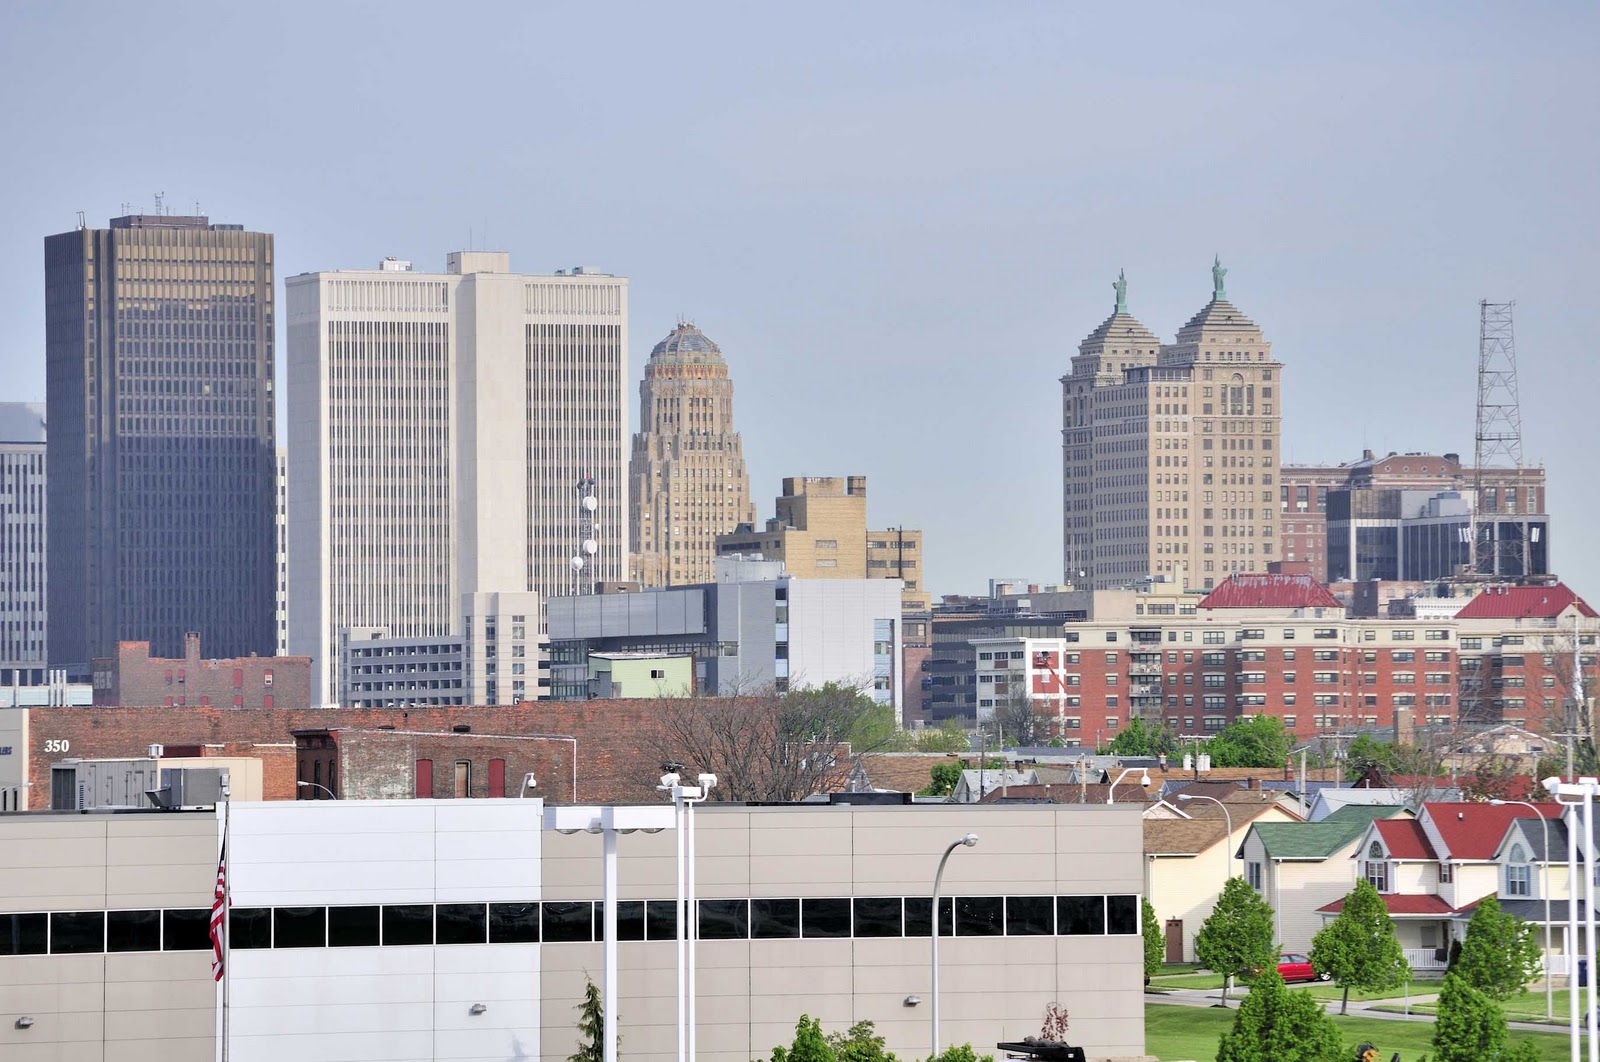
                I decided to take into account where my husband and I were each from: Buffalo, NY and Philadelphia, PA.  Both cities are on the water (Lake Erie and the Delaware River, respectively) so I decided to make a picture where one city was reflected in the water of the other.

                Since the picture was going to have to be large enough to fit all the signatures, I needed high resolution photographs of each city’s skyline.  I turned to this website: www.dreamstime.com.  I was able to choose one photograph from several that were 300 dpi – excellent!


                I put each picture into Adobe Photoshop because the program would retain the high resolution of the images.  I first gray-scaled both images because I didn't want to worry about matching all the colors.  I rotated the Buffalo photograph 90° and then copied it below the Philadelphia photograph.


                From here, I had to find a way to blend the photographs together.  This was by far the most complicated part because I wanted to blend them well.  I’m not exactly stellar with Photoshop since I’m not a graphic designer, but I ended up using the stamp tool at the intersection of the photographs.  I think it turned out pretty well.


                After that, I sized the finished image to 18” x 12” and had it printed at Kinkos!  We put a small sign at our reception explaining that the image was a fusion of our two cities and we’d be happy for everyone to sign it!  It turned out great.


                Now, if I would just buy a frame for it.


Saturday, October 29, 2011

Wedding Aisle Runners


                My husband and I married on a deck over the ocean.  It was perfectly beautiful.


                We had ten guests.  I think we had two rows of three chairs on each side to make an “aisle.”  In the months leading up to the wedding, I was becoming upset about the lack of aisle definition.  I know that is a really ridiculous thing to become fixated on, but yet, I couldn’t shake the idea.

                I discussed with lots of people how to define the aisle.  Bear in mind some parameters:

One. It was a deck.  Wooden material.  We were completely unable to poke things in the ground.  I got a lot of suggestions of Sheppards’ hooks.  Yeah – totally impossible.

Two. We married in Bermuda.  This meant we had to transport all materials from the east coast of the US to a tiny island in the Atlantic.  The lighter and easier to transport materials, the easier it was for everyone.  Again, people suggested sticking Sheppards’ hooks in potted soil, mason jars with candles, or bringing bags of small colored marbles.  Again – totally impossible.  

Three.  Wind.  The deck was over the ocean.  Anything small and light (but easily transportable!) would blow away.  

                I was at a total loss.  I really scoured the internet and The Knot for suggestions, but I kept coming back to this same picture in my mind.  I’m a simple girl and I wanted a simple scattering of rose petals to define the aisle.  How could I recreate it and still work within the restrictions I outlined above?  

 
                Some extra googling lead me to the idea of petal ribbons: ribbon covered with scattered rose petals.  The ribbons could be taped to the deck and the petals would not blow away since they were glued to the ribbon.  Below, you can see how our actual aisle ended up looking.  I'll tell you how I made them and then tell you some other variations I had on this idea. 


  I found a website that sold these ribbon petals, but holy hell, they were expensive.  I wasn’t about to spend the kind of money they wanted on 60 feet of ribbon covered with rose petals.  Not when I could make them myself, wrap them up carefully in my suitcase, and bring them to Bermuda.

                I started with the ribbon.  I wanted the widest ribbon I could find, which turned out to be 4.5”.  I ordered white satin ribbon from Papermart that is actually used for building openings and ceremonial cutting of things.  Hey, it worked!  Price?  $11 for 100 yards.

                I next needed rose petals.  I found an awesome website: www.petalgarden.com.  They sell both silk and freeze-dried petals in more colors than I ever imagined.  Two great perks of this site: I could order samples of any colors I wanted for $2.95 (Samples!) and they offer a guide for estimating how many petals you’ll need depending on your use (Petals101).  

Since our wedding colors were not finalized at the time I ordered the petals, I went with simple ivory.  However, had I known my maid of honor would be in dark purple (which meant my bouquet and my husband’s boutonniere would also be dark purple), I would have done a mix of ivory and dark purple or another coordinating color.

I determined that for the type of coverage I wanted on the ribbon, I’d need 200 petals per five feet of ribbon.  For 60’, I’d need at least 2400 petals.  I ordered 3000 petals (color #402), so it cost $50.  The website does offer deep discounts on large bags of similar color petals, other “throwables” (like snowflakes,hearts) and floating silk rose petals.

The last piece I needed was glue.  I tried several, but the best choice was fabric glue ($3).

I was ready to go!

I cut the ribbon into five foot sections.  I spread fabric glue all over the first foot of the ribbon then covered it with rose petals.  I placed a book over newly glued petals to keep them in place while the glue dried and moved on to the next one foot area.  The glue dried in ~ 5 minutes.  I removed the books and was finished!


In total, I made 12 five foot sections to equal 60’.  It would line either side of our 30 foot aisle nicely.  Total cost = $11 + $50 + $3 = $64.  Transporting to Bermuda = free!

To get them to Bermuda, I wrapped each five foot section in paper towels and laid them in the bottom of my suitcase.  They were perfect when we got there.  Our coordinator taped them to the deck and we had a beautiful aisle.  Interestingly, after the ceremony, they made for fun picture props…

I did have other ideas for how to accomplish the scattered petal look.  Tulle is another type of ribbon that is made very wide.  I considered buying very wide white tulle, lying it on the floor, scattering petals on half long ways, and then folding the tulle over top of the petals.  While there would be no gluing of individual petals, you’d still have to figure out how to seal the tulle.  Anyway, just thinking out loud.

Saturday, October 22, 2011

Wedding Invitations, Wedding Save the Dates


  Well, it’s official!  I entered the 3rd Annual Cards and Pockets Design Contest!  Since I spent time finding all the information, I thought now would be the best time to showcase our design here!  This paper project was a labor of love between my husband, my Aunt, my mother and I.

Save the Dates

All materials were ordered from Cards and Pockets.

Matte: color Mars, size 3.5” x 5”.
Information: cardstock color Crystal, size 3.25” x 4.75”.
Envelope: RSVP envelope (designed for cards 3.5” x “5), color Silver.

The drawing of our venue was done by my aunt!  She’s fabulous at art and we are extremely grateful she was willing to help us out with these invitations!

I scanned her drawing onto the computer and designed the rest of the card in Power Point.

The Cards and Pockets Print Shop printed our invites and cut them to the appropriate size.  We ordered the mattes and silver envelopes directly from their website.  Using Zip Dry Glue, my husband and I assembled all the Save the Dates.  

Extras: My mother designed the stamp at Zazzle; the seals were from Staples (I tried to find a link for the seals, but just can’t find one.  Sorry!  But they are in the invitation section of any Staples store.  They have many different kinds to choose from!  Some are really wedding-y).

Ta-da!


Invitations

All materials were ordered from Card and Pockets.

Pocketfold: Perfetto, color Mars (one size only)
Matte: color Silver, size 5 7/8” x 5 7/8
Information, Inserts: card stock color Crystal
                Invitation: size = 5 5/8” x 5 5/8
                Guest Information: size = 5” x 5.75”
                RSVP: size = 3.5” x 5”
Envelopes: both RSVP and Perfetto Envelope in color Silver.

The drawing of our venue was again done by my aunt!  

I scanned her drawing onto the computer and designed the rest of the invitation, Guest Information Insert and RSVP card in Power Point.

The Cards and Pockets Print Shop printed our invitiation/inserts and cut them to the appropriate size.  Using ZipDry Glue, my husband and I assembled all the invitations.

The RSVP envelope had my parents’ address printed by our home computer/printer (not shown).

The invitation envelope was handwritten by a local calligrapher.

Extras: The return address on our invitation was done with a hand embosser from PSA Essentials sold through Papyrus.  It's difficult to see in the picture due to blurring the address and parent last name, but it was quite legible in person!

Voila!


We did a lot of DIY for our wedding including aisle runners/liners, guest book, and Thank You cards.  Look for those posts soon!  I'll link them here as they come up.

If you find that I didn't hyperlink any of my materials or they are hyperlinked incorrectly, just let me know!